Testing fiber optic cables is crucial to ensure their performance and reliability. Here, GL Fiber will tell you the primary methods and tools used for testing fiber optic cables:
1. Visual Inspection
Tools Needed:
Visual Fault Locator (VFL)
Inspection Microscope
Steps:
Inspect Connectors: Check for dirt, dust, or damage on connectors using an inspection microscope.
Use VFL: Attach the VFL to the cable. The VFL sends a visible red laser light through the cable, helping to identify breaks or sharp bends as the light will escape at the damaged points.

2. Continuity Testing
Tools Needed:
Visual Fault Locator (VFL)
Steps:
Check Light Transmission: Connect the VFL to one end of the fiber optic cable. If the light is visible at the other end, the cable has continuity.
3. Optical Power Measurement
Tools Needed:
Optical Power Meter
Light Source
Steps:
Measure Output Power: Connect the light source to one end of the cable and the power meter to the other end. Measure the power loss to ensure it is within acceptable limits.
4. Insertion Loss Testing
Tools Needed:
Optical Power Meter
Light Source
Reference Cables
Steps:
Set Reference Power: Connect the light source to the power meter with a reference cable and record the power level.
Measure Insertion Loss: Connect the fiber optic cable under test between the light source and power meter. Measure the power level again and calculate the insertion loss (difference between reference power and measured power). This should be within the acceptable range specified for the cable.

5. Optical Time-Domain Reflectometer (OTDR) Testing
Tools Needed:
OTDR
Steps:
Set Up OTDR: Connect the OTDR to the fiber optic cable.
Run Test: The OTDR sends a series of optical pulses down the fiber and measures the light that is reflected back.
Analyze Results: The OTDR provides a trace or graphical representation showing the locations and extent of any faults, splices, bends, or breaks along the cable.
6. Attenuation Testing
Tools Needed:
Optical Power Meter
Light Source
Steps:
Measure Initial Power: Connect the light source to the power meter with a reference cable and record the power.
Test Fiber Cable: Connect the fiber optic cable under test between the light source and power meter. Measure the power level at the end of the fiber.
Calculate Attenuation: Subtract the measured power from the initial power to find the attenuation.
7. Chromatic Dispersion Testing
Tools Needed:
Chromatic Dispersion Test Equipment
Steps:
Set Up Test: Connect the chromatic dispersion test equipment to the fiber optic cable.
Run Test: The equipment sends multiple wavelengths of light through the cable.
Analyze Results: Measure the dispersion of different wavelengths to ensure the cable meets specifications.

8. Polarization Mode Dispersion (PMD) Testing
Tools Needed:
PMD Test Equipment
Steps:
Set Up Test: Connect the PMD test equipment to the fiber optic cable.
Run Test: The equipment sends polarized light through the cable.
Analyze Results: Measure the differential group delay of different polarization modes to ensure the cable meets specifications.

By using these methods, you can thoroughly test fiber optic cables to ensure they are functioning correctly and meet the required standards for your network.


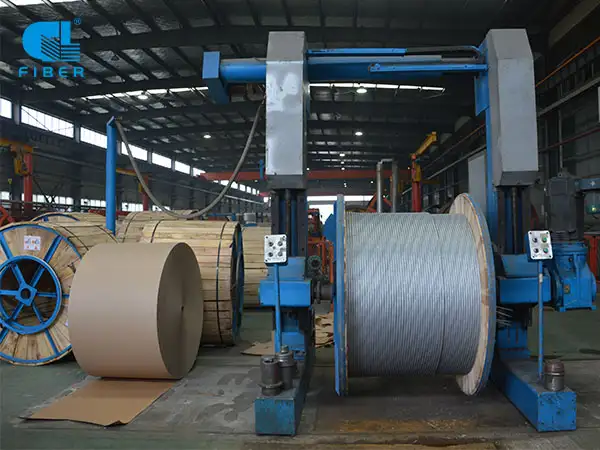
 ADSS Fiber Optic Cable
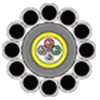 OPGW Optical Ground Wire
 Bare Conductor
 Communication Optical Fibre
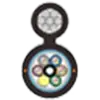 Aerial Fiber Cable
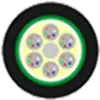 Duct Fiber Cable
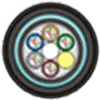 Direct Buried Fiber Cable
 FTTH Drop Cable
 Air Blown Micro Cable
 Armored Fiber Optic Cable
 High Density Ribbon cable
 Biologically Protective Cable
 FTTX Tactical Cable
 Indoor Fiber Optic Cable
 Hybrid Fiber Optic Cable
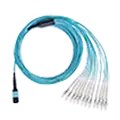 Fiber Optic Assemblies
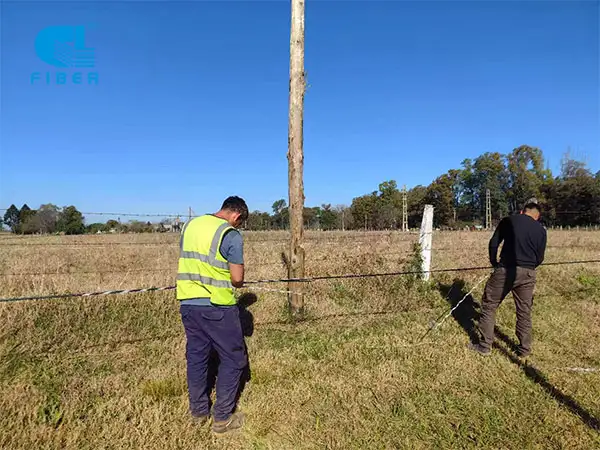
 Company Profile
 Development History
 Qualification Honor
 Company Videos
 Exhibiting Overseas
 Our Solution